Please note that this blog is an adaptation of an article in Landscape Management Magazine, May 2017, “Step by Step: How to properly renovate a lawn” oriented towards workers in the landscape industry. This article’s Sources: Roanoke Landscapes; Penn State College of Agricultural Sciences. This blog has been adapted for homeowners.
When a person hears “renovate”, a lawn isn’t the first thing to come to mind. Most people think of interior reno’s such as replacing leaky windows or doors or updating the bathroom flooring, fixture or tiles.
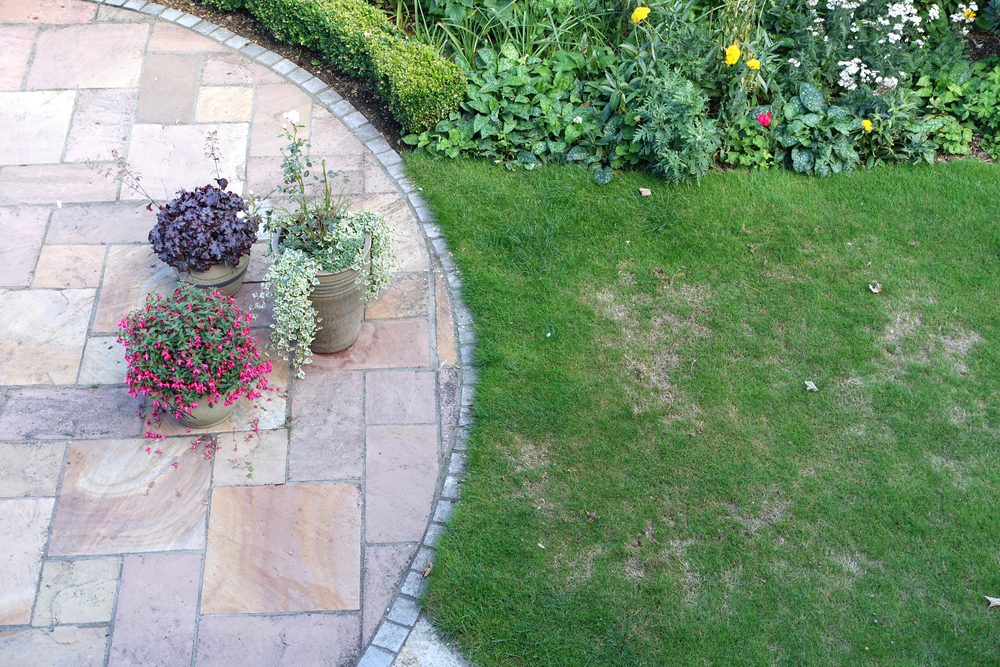
When it comes to lawns, renovation involves restoring a deteriorated turfgrass area to an improved condition.
It is important though, that before you start investing the sweat, muscle, time and other factors involved in renovating, that you first try and determine what is causing the underlying issue and correct the problem.
If your lawn is looking patchy or thin and like it is in need of renovating, these could be potential reasons why:
- drought
- excessive shade
- tree root competition
- poor drainage
- soil compaction
- inadequate fertility
- acid soils
- weed or insect infestation
- disease
- thatch buildup
- improper mowing
- poorly adapted grass species
Tips to prepare for your reno:
- The best time to renovate your lawn is early to mid spring, when the temperature is milder and there is increased moisture, compared to the hot dry days of summer.
- Prep your lawn by first removing weeds and pests, eliminating competition for the new grass and increasing the chances of success of your reno. Depending on the type of herbicide that you apply, you will need to wait two to six weeks prior to seeding. Earth Smart Property Solutions offers a variety of weed control options, if you don’t want to attempt this on your own.
- Proper turfgrass selection is important for your lawn’s success. Consult a professional if you aren’t sure what to purchase for your property.
- Review recommended lawn care maintenance practices to make sure you are following proper watering, cutting practices and so forth.
Then follow these steps:
Step 1
Cultivate the turf by dethatching and aerating.
Core aeration is recommended once per year. Earth Smart Property Solutions offers Spring and Fall Core Aeration services. Click here to learn more about this service.
Step 2
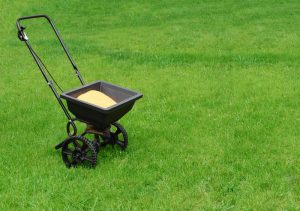
Apply a starter fertilizer containing both nitrogen and phosphorus at the recommended rate.
Earth Smart Property Solutions offers a variety of fertilizer and weed control options, if you don’t want to attempt this on your own.
Step 3
Repeat Step 1 to further prepare the seedbed. Then, overseed the lawn. When choosing the type of turf seed, consider seed quality, water needs, maintenance needs, sun/shade requirements and resistance to regional pests and diseases. We offer an Overseeding Service in our Red Deer location. Click here to learn more.
Step 4
After seeding, drag the area to work the seed into the seedbed. Apply a light application of straw mulch to retain moisture and promote germination.
Step 5
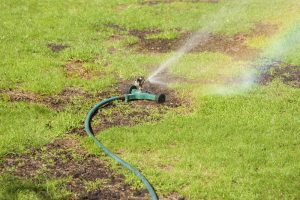
Keep the seeded areas moist until the seed has germinated and seedlings have become well-established, using enough water to wet the surface but not enough to cause runoff.

Sources:
Landscape Management Magazine, May 2017, “Step by Step: How to properly renovate a lawn”
Roanoke Landscapes
Penn State College of Agricultural Sciences


One Comment